pусский
  Português
  العربية
  Français
  Español
  (+86)-0756-3932978
Review of Xprinter's Exciting Moments at Gitex 2023
How To Install POS 80 Printer?
by:Xprinter
2023-07-07
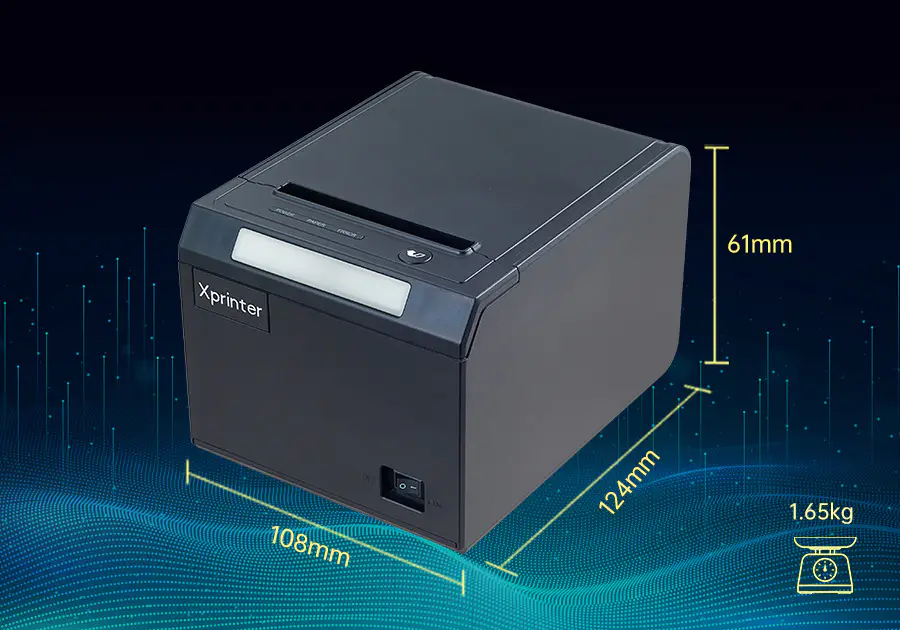
How to Install POS 80 Printer?
If you're looking to install your new POS 80 printer, it is likely because you have decided to streamline your printing process and optimize your point of sale experience. A POS 80 printer is an excellent investment and can serve as an all-in-one solution for printing receipts, barcodes, labels and other essential information you may need. However, before you begin using your POS 80 printer, you will first need to install it. This article will guide you through the process of installing your POS 80 printer to ensure a seamless and efficient printing experience.
1. Unpack Your Printer
Before you begin, you will want to unpack your printer and take an inventory of all of the components. Check to see if you have everything you need, including power cables, data cables, and any software or driver CDs that may have come with the printer. It is important to ensure that all of the components are in good condition before you begin the installation process.
2. Connect Your Printer
Once you have all of the components out of the box, you can start connecting your printer. First, plug the power cable into your printer and then into a power outlet. Next, connect the data cable from your printer to your computer. If your printer is a USB printer, then plug the USB cable into a USB port in your computer. If you have a serial printer, then plug the data cable into the serial port of your computer.
3. Install the Printer Drivers
Your POS 80 printer likely came with driver software that you will need to install before you can begin using the printer. The driver installation process may vary depending on the brand of your printer, but most driver installations are straightforward and easy to complete. Follow the on-screen instructions and prompts to install the printer drivers onto your computer. Once the driver installation is complete, your printer will be ready to use.
4. Test Your Printer
After the driver installation is complete, your printer is now ready to test. To test your printer, open any software that can print, such as Word or a web browser, and attempt to print a test page. If your printer is properly installed, you should see the test page print without any issues.
5. Customize Printer Settings
Finally, you may want to customize your printer settings to optimize your printing experience. Your printer may come with software that allows you to adjust various settings, such as print quality or paper size. Make sure to adjust these settings to fit your needs to ensure that your prints are of high quality and print as intended.
Conclusion
In conclusion, Installing your POS 80 printer is a relatively straightforward process. By following the steps outlined above, you can get your new printer up and running in no time. Remember to unpack your printer, connect your printer, install the driver software, test your printer, and customize your printer settings to ensure optimal printing quality. With your POS 80 printer installed, you can streamline your printing process and enhance your point of sale experience!
The use and installation of vendor thermal printer is compared with most other systems for managing the mini bill printer effectively and no doubt thermal printer for restaurant have won the race so many times.
Xprinter Group’s mission is to be the leading global innovator, developer and provider of label maker with barcode print wireless receipt printer products, systems, and services.
xprinter 58mm has become a serious problem for an increasing number of people around the world, that's why highly effective are developed by Xprinter Group.
Custom message
Related Products