pусский
  Português
  العربية
  Français
  Español
  (+86)-0756-3932978
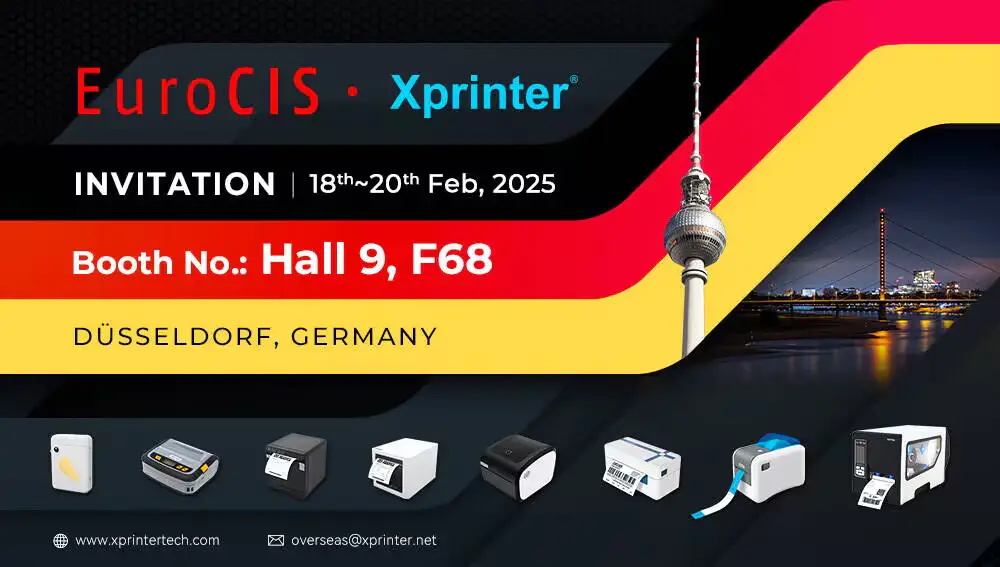
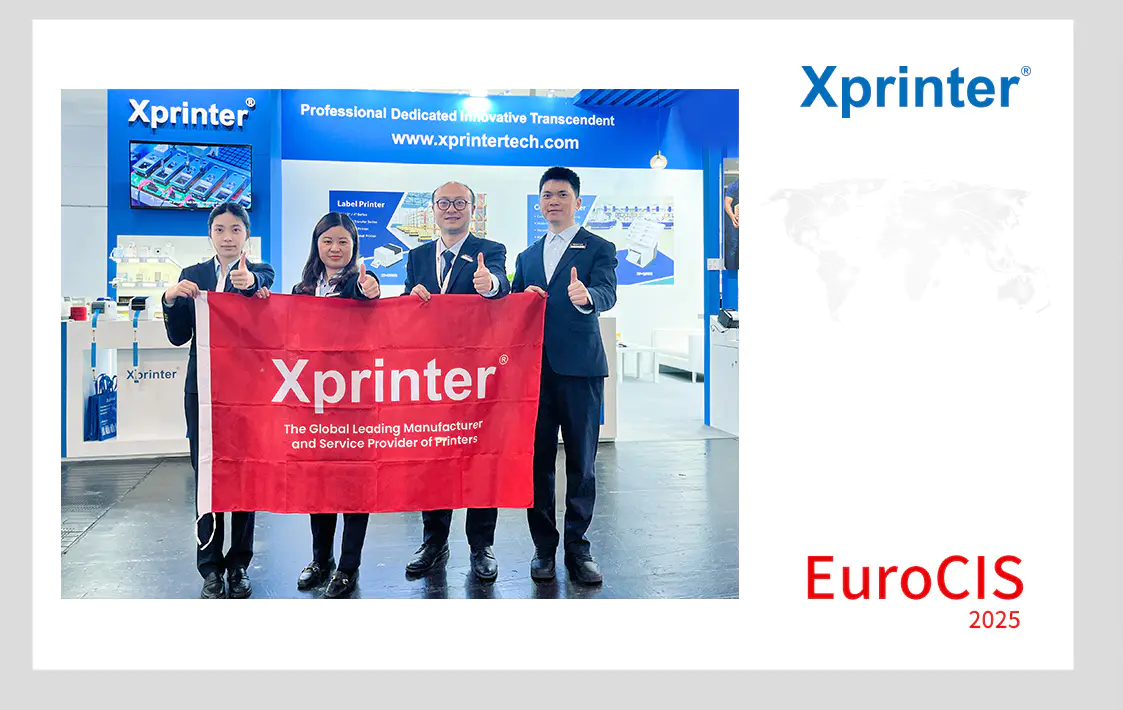
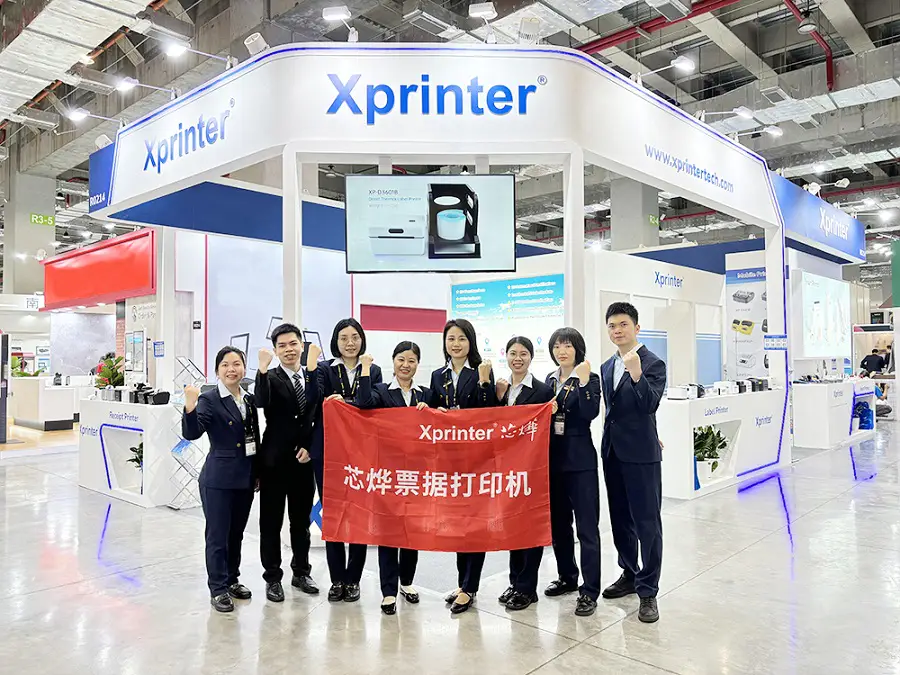
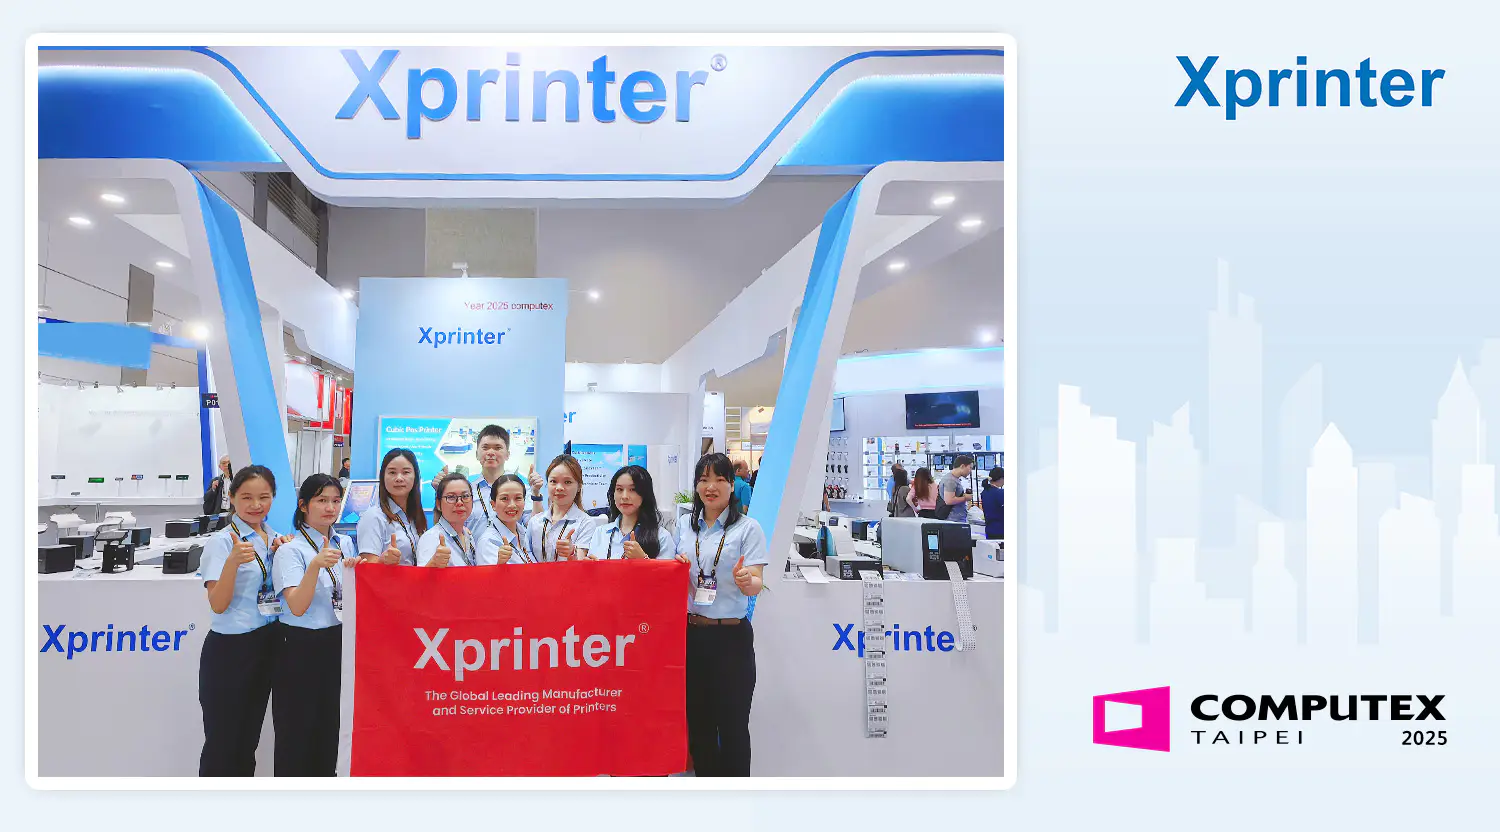
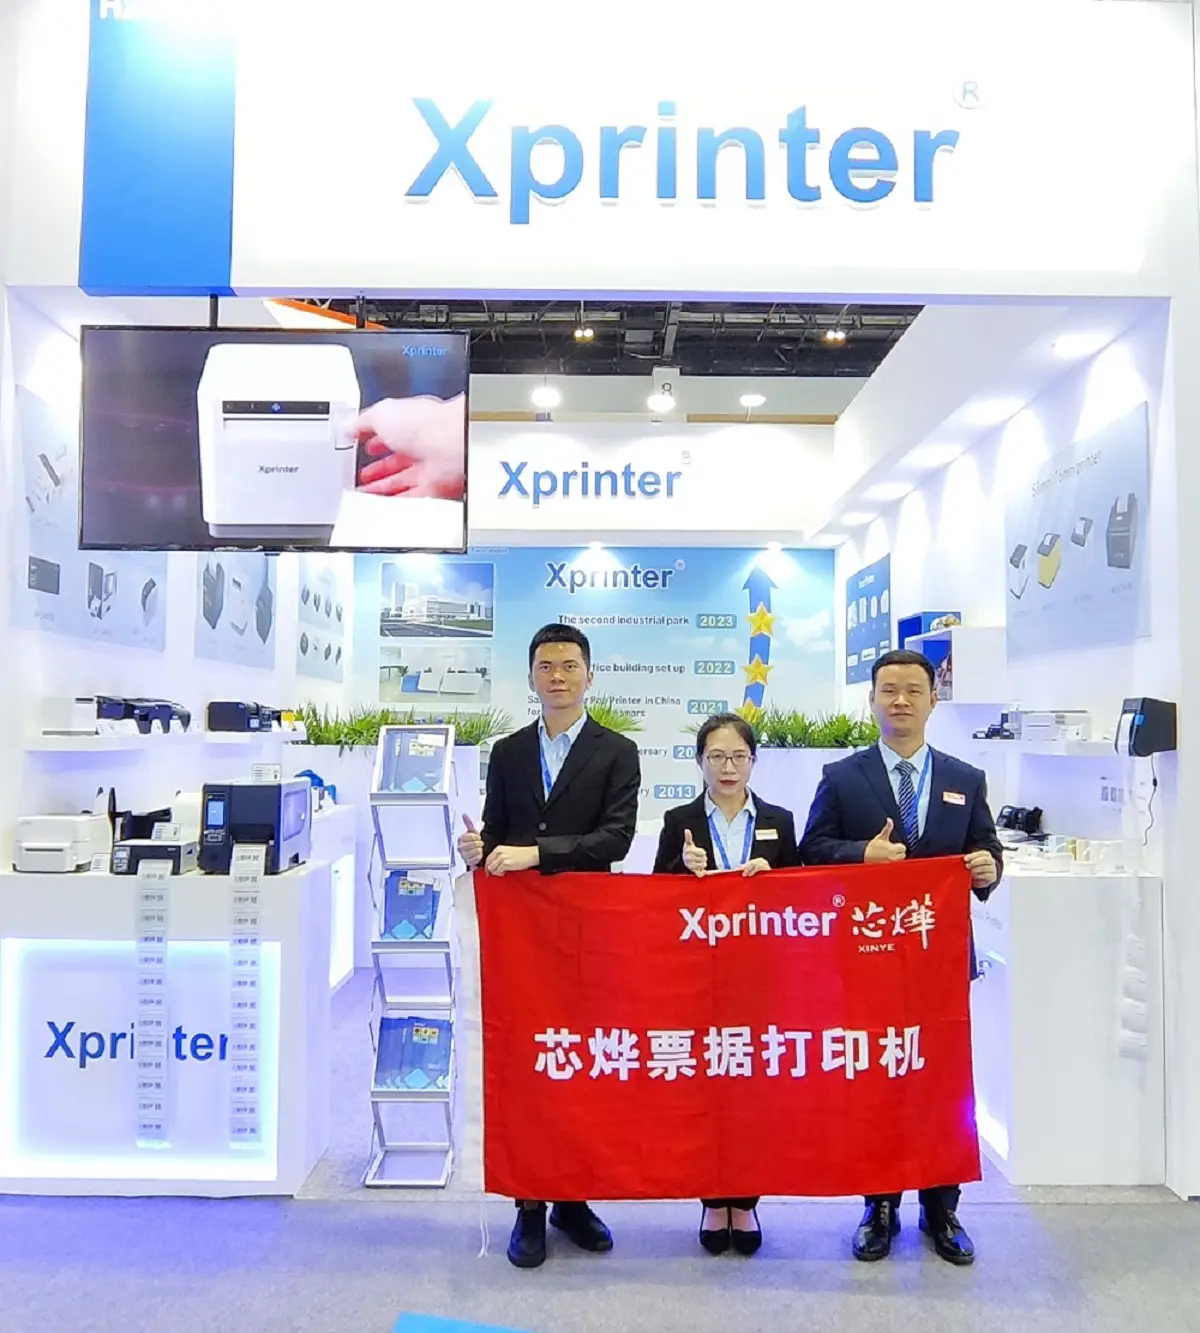
Join Xprinter at EuroCIS 2025!
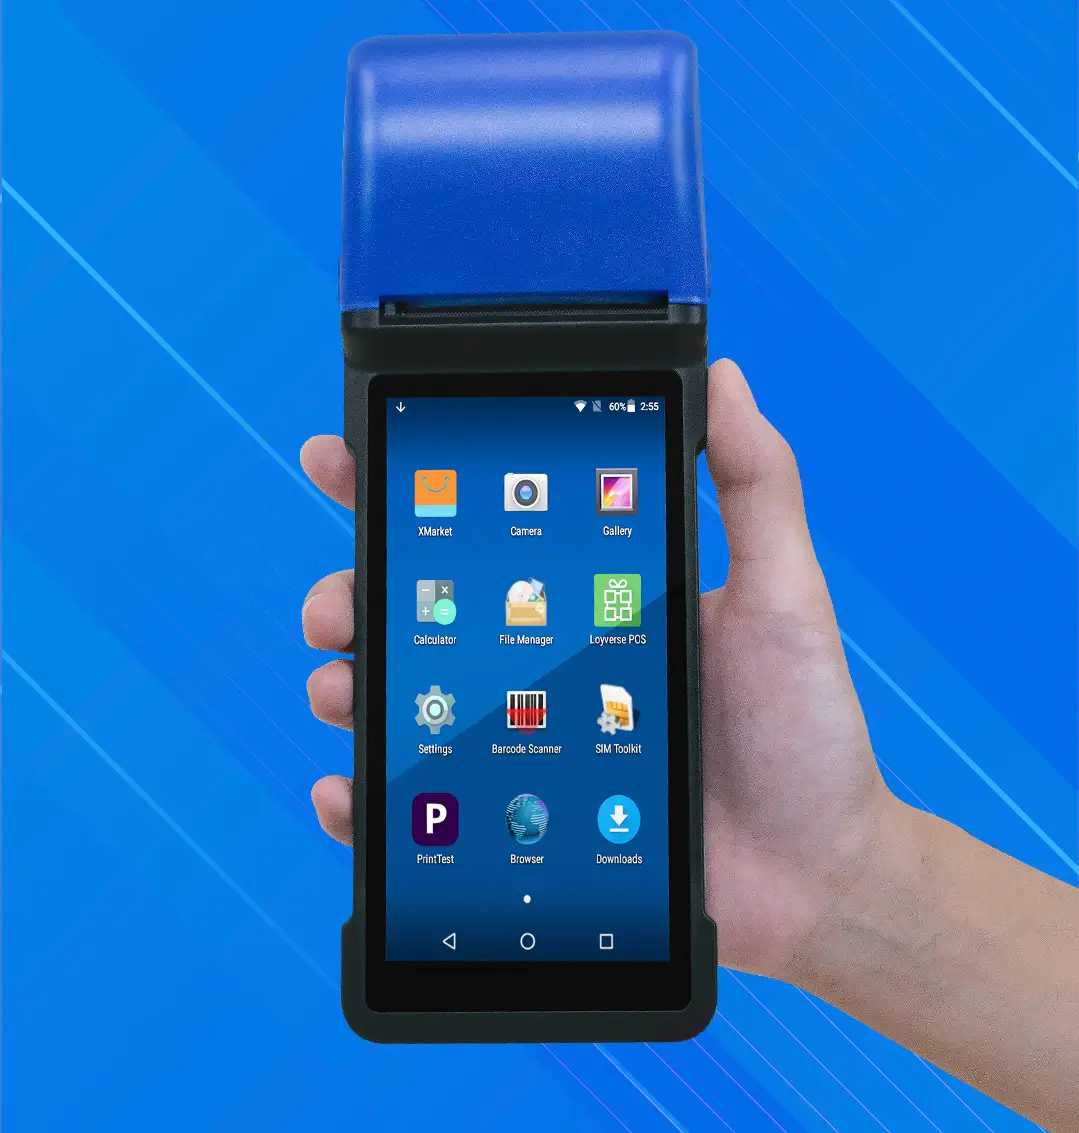
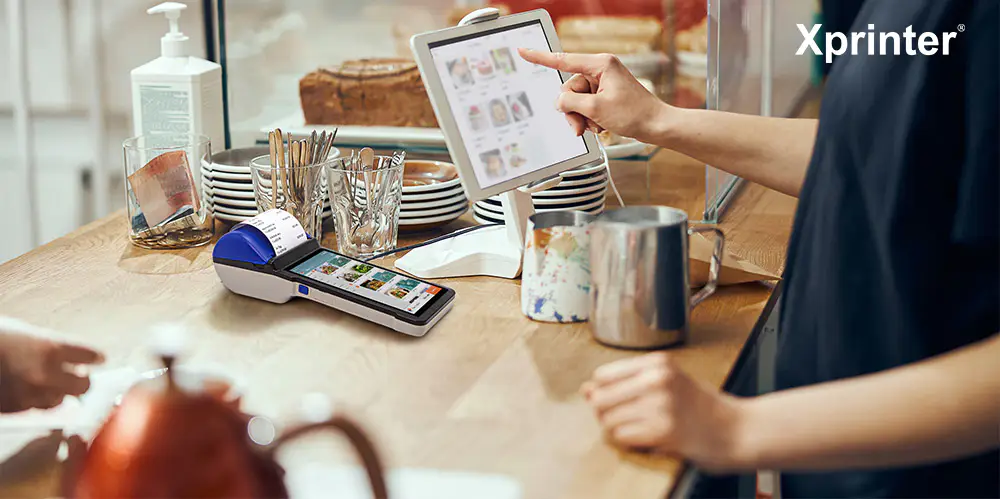
How To Connect Printer To POS System?
by:Xprinter
2023-07-10
How to Connect Printer to POS System?
If you own or manage a retail or food service business, then you know how critical it is to have a reliable point-of-sale (POS) system. And a significant part of that system is a printer that can quickly print receipts and other transaction documents. In this article, we will take a closer look at how to connect a printer to your POS system and make sure everything works correctly.
Subtitles:
1. Choosing the Right Printer
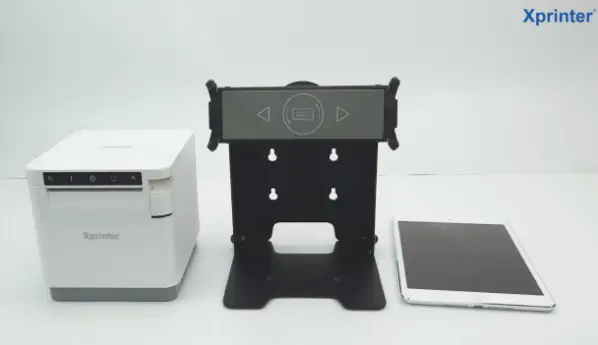
2. Connecting the Printer Hardware
3. Installing the Printer Driver
4. Configuring the Printer Settings
5. Testing the Printer
Choosing the Right Printer
The first thing to consider when connecting a printer to your POS system is choosing the right printer. Ideally, you want a printer that is compatible with your POS software and hardware. Most POS systems can work with several types of printers. However, you need to do your research before making a purchase. Here are the most common types of printers used in POS systems:
- Thermal printers - These types of printers use heat to print on thermal paper. They are reliable, affordable, and produce high-quality receipts.
- Dot-matrix printers - These printers use pins to print on multipart paper. They are reliable but loud and prone to jamming.
- Inkjet printers - These printers use ink to print on standard paper. They are affordable but not ideal for printing receipts.
When choosing a printer, you also need to consider its speed, connectivity, and compatibility with your POS system.
Connecting the Printer Hardware
Once you have chosen the right printer, you need to connect it to your POS system. The process is straightforward and requires a few steps:
- Turn off your POS system.
- Connect the printer to a power source and turn it on.
- Connect the printer to your POS system using a USB, Ethernet, or wireless connection.
- Turn on your POS system.
Make sure that you follow the instructions provided by the printer manufacturer and your POS software vendor for connecting the printer hardware.
Installing the Printer Driver
After connecting the printer to your POS system, you need to install the printer driver. The driver is software that allows your POS system to communicate with the printer. Here are the steps to install the printer driver:
- Insert the printer driver CD that came with your printer into your POS system's CD drive. If your POS system does not have a CD drive, you can download the driver from the printer manufacturer's website.
- Follow the on-screen instructions to install the driver.
- Restart your POS system.
Configuring the Printer Settings
Once you have installed the printer driver, you need to configure the printer settings. The printer settings determine how the printer prints documents, including receipts, invoices, and other transaction documents. Here are the most critical printer settings you need to configure:
- Paper size - Set the paper size to match the size of your receipt paper. If you are not sure, check the printer's manual or contact the printer manufacturer.
- Print density - Adjust the print density to make sure the receipt is legible and clear.
- Cut type - Set the cut type to match the type of paper cutter you are using.
- Logo and header - Add your business logo and header to your receipts for branding purposes.
Testing the Printer
After configuring the printer settings, you need to test the printer. Testing the printer ensures that it is working correctly and printing documents as expected. Here are the steps to test the printer:
- Open your POS software and create a test transaction.
- Print the receipt or invoice.
- Verify that the document is legible and contains all the necessary information, including the business name, transaction date, items purchased, and total amount.
If the printer is not printing correctly, double-check the printer hardware connections, printer driver, and printer settings. If you cannot resolve the issue, contact the printer manufacturer or your POS software vendor for assistance.
Conclusion
Connecting a printer to your POS system is critical for any retail or food service business. By following the steps outlined in this article, you can ensure that your printer is correctly connected and functioning correctly. Choosing the right printer, connecting the printer hardware, installing the printer driver, configuring the printer settings, and testing the printer are all crucial steps in setting up your POS system. With a reliable POS system and printer, you can improve your business's efficiency and customer satisfaction.
Xprinter Group highlighted the need to foster a human openness to technological innovation.
Helping our customers manage document workflow and increase efficiency through best-in-class barcode label machine and services. Fostering the growth and development of our employees.
The best way to determine the ideal strategy of thermal receipt printer is to continually test and refine your selling and marketing tactics.
Xprinter Group always believes that the average profitability of our company is sufficient.
Custom message
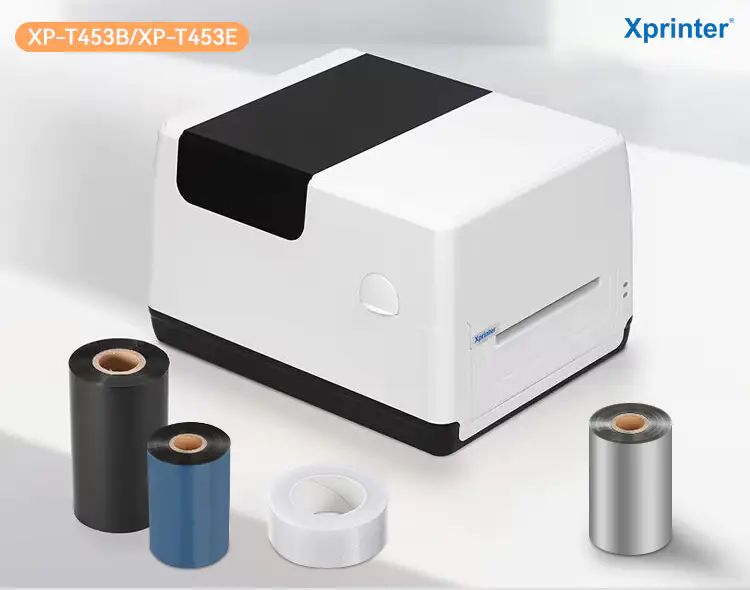
Related Products